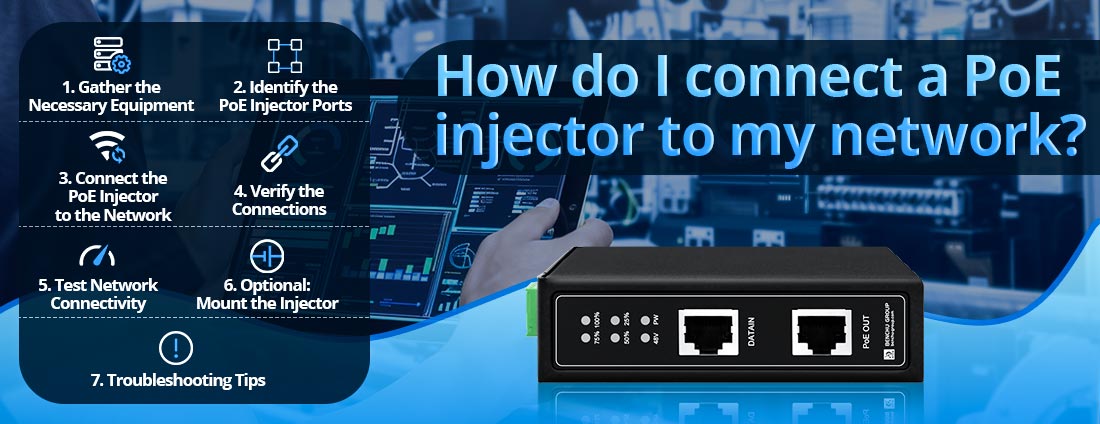
Um injetor Power over Ethernet (PoE) permite fornecer energia e dados a um dispositivo habilitado para PoE por meio de um único cabo Ethernet. Conectar um injetor PoE à sua rede é simples, mas requer atenção cuidadosa às portas e conexões corretas. Siga estas etapas detalhadas:
1. Reúna o equipamento necessário
Antes de começar, certifique-se de ter:
--- Injetor PoE: escolha um compatível com seu dispositivo e requisitos de rede.
--- Cabos Ethernet: Use cabos de alta qualidade (por exemplo, Cat5e, Cat6) para energia confiável e transferência de dados.
--- Fonte de alimentação para o injetor: Um cabo de alimentação ou adaptador incluído com o injetor.
--- Dispositivo PoE: exemplos incluem câmeras IP, pontos de acesso sem fio ou telefones VoIP.
--- Switch de rede ou roteador: Para conectar-se a uma rede mais ampla.
2. Identifique as portas do injetor PoE
Um injetor PoE normalmente possui duas portas Ethernet:
--- Porta LAN/Data In: Recebe dados do seu switch ou roteador de rede.
--- Porta de saída PoE: envia energia e dados para o dispositivo PoE conectado.
--- Há também uma porta de entrada de energia onde você conecta o injetor a uma fonte de energia.
3. Conecte o injetor PoE à rede
Conecte o injetor ao switch ou roteador:
--- Use um cabo Ethernet para conectar a porta LAN/Data In do injetor PoE a uma porta LAN em seu switch de rede ou roteador.
--- Esta etapa garante que o injetor receba dados da rede.
Conecte o injetor ao dispositivo PoE:
--- Use outro cabo Ethernet para conectar a porta de saída PoE do injetor ao dispositivo habilitado para PoE (por exemplo, câmera IP ou ponto de acesso sem fio).
--- O injetor fornecerá energia e dados ao dispositivo por meio desta conexão.
Conecte o injetor a uma fonte de alimentação:
--- Conecte o injetor a uma tomada elétrica usando o cabo de alimentação ou adaptador incluído.
--- Verifique se o indicador de energia no injetor está aceso, indicando que está ativo.
4. Verifique as conexões
Verifique os LEDs de status no injetor PoE:
--- LED de energia: confirma que o injetor está recebendo energia.
--- LED de dados/link: indica uma conexão de dados bem-sucedida com a rede.
--- LED PoE (se disponível): confirma que a energia está sendo fornecida ao dispositivo PoE.
Verifique o dispositivo PoE:
--- Certifique-se de que o dispositivo esteja ligado e conectado à rede.
5. Teste a conectividade de rede
--- Acesse o Dispositivos PoE interface de gerenciamento (se aplicável) para verificar se está conectada e funcionando corretamente.
--- Teste a transmissão de dados executando ping no dispositivo ou usando ferramentas de diagnóstico de rede.
6. Opcional: Monte o Injetor
Se o injetor fizer parte de uma instalação permanente:
--- Use os orifícios de montagem ou suportes (se fornecidos) para fixá-lo em uma parede ou rack.
--- Garanta ventilação adequada e evite colocá-lo em áreas propensas a superaquecimento.
7. Dicas para solução de problemas
Se o dispositivo PoE não ligar ou conectar:
--- Verifique as conexões dos cabos: certifique-se de que todos os cabos estejam firmemente conectados às portas corretas.
--- Verifique a qualidade do cabo: Use cabos Ethernet certificados (Cat5e ou superior) para minimizar a perda de energia.
--- Confirme a compatibilidade PoE: certifique-se de que o padrão PoE do injetor corresponda aos requisitos do dispositivo (por exemplo, IEEE 802.3af, 802.3at ou 802.3bt).
--- Inspecione os LEDs: Procure indicadores de erro no injetor ou dispositivo PoE.
Conclusão
Seguindo estas etapas, você pode conectar facilmente um injetor PoE à sua rede e alimentar seus dispositivos habilitados para PoE. A configuração adequada garante fornecimento de energia estável e comunicação de dados contínua, tornando sua rede mais eficiente e versátil.